The Millermatic 211 MIG welder with gas is the easiest and most efficient tool in welding for all skills of welders. First, a multi-voltage plug is available to connect your power source through a common 120 or 240 V outlet. Advanced auto-set automatically detects when a MIG gun is connected and readjusts its settings based on material thickness. It can be used on either solid wire or flux-cored wire.
The choice then turns to one of two options: a 15-foot MIG gun or a spool gun, depending upon your application. With solid wire, switching has never been easy with the quick select™ drive roll. However, when switching to flux cored wire, there is also a separate drive roll for sizes as small as 0.6 mm. The Millermatic 211 also comes in pulsed MIG, resulting in a really smooth weld bead.
Finally, adjust the volt settings if necessary and properly load the selected wire into the wire feeder. This all-in-one MIG machine derives power from inverter technology, thus a compact size but high input power can be a good choice for welding projects.
What is a MIG welder?
A MIG welder is, for instance, a metallic inert gas welder. It welds metals together using a continuous wire feed and an inert gas. It is very versatile, from thin to thick materials, which makes it popular among DIY enthusiasts and experts.
Why Gas for MIG Welder?
Using gas with a MIG welder, such as the Miller Electric Millermatic 211 MIG welder, enhances the quality of your welds. Unlike flux-cored welding, gas provides a smooth, cleaner finish, making it ideal for various applications. This small MIG welding machine is perfect for both 120 or 240 V power settings.
Miller MIG welder 252 has size options on solid wire. The product allows users to switch between solid wire, the third being flux-cored wire. This makes the product versatile. The usage of inverter technology provides best-in-class arc performance and eases up the setup since it uses three different options for feeding the wires.
Furthermore, this electric MIG device works with common 240 V power receptacles without difficulties. The tension knob is calibrated to produce constant feed, which is of significant importance for a stable arc. Welders on sale provided with these technologies will prove highly beneficial for hobbyists as well as professionals.
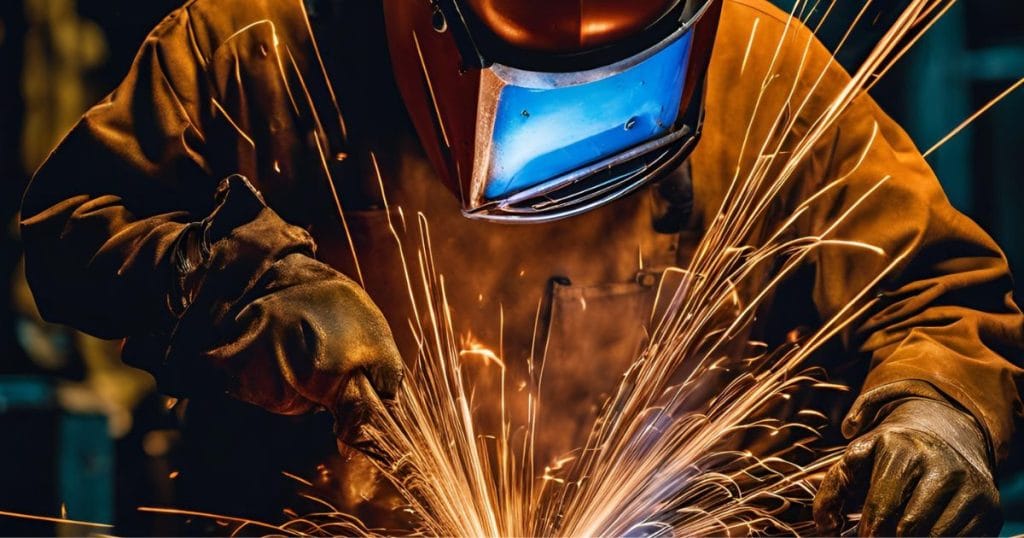
Safety First: Gear and Precautions
For any welding, safety is the first thing to be considered. You will require these things before you start welding:
Welding helmet with auto-darkening feature
- Flame-resistant gloves
- Welding jacket or apron
- Safety glasses
- Fire extinguisher available
Always weld in a well-ventilated area and keep flammable materials away from your workspace.
Setting Up Your Miller 110 MIG Welder
Setting up your Miller 110 MIG welder is easy. Here’s how to get started:
Unpack the welder and make sure everything is there.
Plug in the power cable to a grounded outlet.
Connect the ground clamp to a clean, bare metal surface on your workpiece.
Insert the wire spool into the welder, ensuring it is the correct size and type for your project.
Choosing the Correct Gas
For most projects, a mix of 75% argon and 25% CO2 works well. This combination provides good penetration and a smooth weld bead. Pure CO2 is cheaper but can result in more spatter.
Installing the Gas Cylinder
Installing the gas cylinder is an important step:
- Attach the cylinder to the welder by the chain or strap furnished with it.
- Attach the gas regulator to the cylinder and hand-tighten the wrench to hold it.Attach the gas hose of the regulator to the welder.
- Gradually turn the valve on the cylinder, regulating the flow at around 20-25 CFH.
Preparation of the Welding Surface
- For a solid weld, the surface should be free of contamination. Follow the procedures listed below.
- Wipe out all the rust, paint, and dirt on the metal surface with the help of a wire brush or grinder.
- Position your workpieces securely to prevent movement during welding.
Adjusting the Settings
Your Miller 110 MIG welder has multiple adjustable settings, namely:
Control the voltage with metal thickness.
- Adjust wire feed speed with recommended values given in the manual.
Find which combination is going to work well with your project and try those first. - Preparation on scrap metal before getting on your project
Keep the nozzle as close as possible to the work surface and hold it at an angle of 15° with the gun. - Move consistently along the seam, not too fast but not too slow either.
A steady crackling sound is a good weld.
Troubleshooting Common Problems
- Having Trouble? Here’s what other people have seen and solved:
- Spatter: Try lowering the voltage or use a better gas mix.
- Porosity: Check your gas flow and that there is not a draft in your work area.
- Weak welds: Increase voltage or improve surface preparation.
Maintenance and Care
Regular maintenance extends the life of your welder:
Clean the nozzle daily of spatter build-up.
Look for dust and debris on the wire feed mechanism.
Inspect the cables and connections for signs of wear.
Advanced Tips to Enhance Welding
Once you’re comfortable with the basics, here are some advanced tips to give you an added advantage:
Try weaving or whipping for more control.
Preheat thick metals for less warping and greater penetration.
Support thin materials to avoid burn-throughs.
Conclusion
This is quite a world of potential opened up with the Miller 110 MIG welder using gas. With the right setup, safety precautions, and practice, the welds will be strong, clean, and perfect. Happy welding!
Frequently Asked QuestionsWhat type of gas should I use with my Miller 110 MIG welder?
For most welding applications, 75% argon and 25% CO2 is the best mix. It gives a good balance between cost and quality of the weld.
How do I avoid spatter when welding?
To minimize spatter, use the proper voltage setting and gas flow. Keep your workspace clean too.
Can I weld aluminum with a Miller 110 MIG welder?
Yes, but you do not get the best out of your MIG welder without the spool gun attachment and pure argon gas.
How often does my MIG welder need to be maintained?
You clean the nozzle, check the feed mechanism of your wire feeder, and inspect cables and connections for signs of damage or wear.
Why is my weld bead porous?
It could be due to an inadequate flow of gas, draught in the work area, or impurities on the surface of the welding.