This article, Vertical Arc Welding, contains useful information for beginners and professionals who wish to extend their capabilities. Maintaining an adequate rate of amperage with the 7018 rods is important to maintain a stable weld puddle in any welding position. Compared to this welding, where the metal is injected downwards, stick welding vertically up allows weaving back and forth to control the filler. Remember that in the above-mentioned welding, the goal will always be to push that puddle upwards for a good bond without excessive slag buildup.
A properly executed uphill welding technique is essential for projects requiring a high degree of precision. Uphill welding with a vertical-up 7018 technique allows for welding while controlling the drip of molten metal. If ever in the flat, proceed to vertical down welding to facilitate gravity by filling the weld puddle. Always pay attention to the crater at the end of your weld; breaking the arc safely will lead to the creation of a stronger joint. Just Google “welding” for more hints, and YouTube’s got a ton of examples to take you through various weld types and methods.
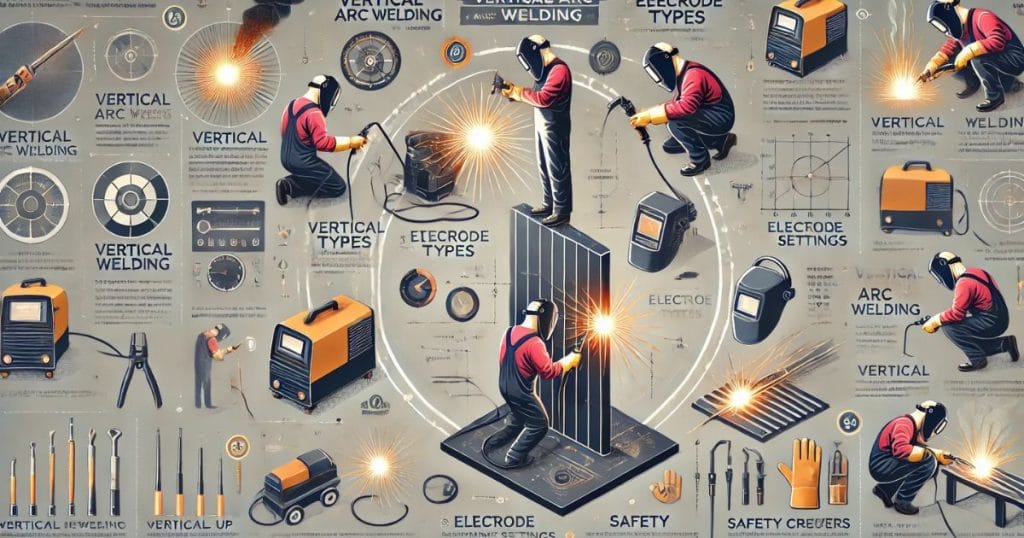
Stick Vertical Welding Technique
This method uses a specific type of welding rod to create one weld bead effectively. For overhead welds or tee joint examples, achieving a looking weld is crucial.
When working with lighter gauge material, the angle is going to be approximately ninety degrees to accomplish good control. It’s essential to keep the size of the weld bead edge consistent. The fast freeze technique is ideal for this application, as illustrated in illustration e.
By mastering this vertical uphill method, welders can effectively create strong joints in buildings or something. For those seeking welding certification, practicing these skills is necessary to refine the process and achieve quality results, as illustrated in f for reference.
Vertical MIG Welding: Techniques and Patterns
Vertical MIG welding requires specific techniques for effective results. Utilize vertical up welding for stronger joints, as it’s commonly used for vertical welding. For beginners, consider the fastfreeze method to control the bead. See illustration b for visual guidance and see illustration e for patterns.
Practice metal this way ensures proper bead formation. When learning, it’s beneficial to copy and paste successful patterns. Additionally, adding a note about your experiences can help track improvements. Achieving a welding certification often requires mastering these techniques, making practice essential.
Best Welding Techniques for Vertical-Up and Vertical-Down Welding
Vertical-Up Welding (3G Position)
Vertical-up welding is used for thicker materials and ensures deep penetration and strong welds. Follow these techniques for optimal results:
- Use a weaving technique:
- A slight weave pattern (e.g., zig-zag, upside-down “V,” or triangle) helps distribute heat evenly.
- Avoid excessive weaving to prevent undercutting.
- Maintain Proper Travel Speed:
- Move steadily to prevent overheating and excessive buildup.
- Too slow a travel speed can cause excessive penetration and sagging.
- Control Electrode Angle:
- Hold the electrode at a 5–15° upward angle.
- Point the electrode slightly into the weld pool to push molten metal into the joint.
- Short Arm Length:
- Keep a tight arc to minimize spatter and ensure good fusion.
Vertical-Down Welding (3G Position)
Vertical-down welding is typically used for thinner materials and requires faster travel speeds. Key techniques include:
- Use a dragging motion:
- Maintain a drag angle of about 10-15° downward.
- Use a slight weave or straight drag to control the weld bead.
- Fast Travel Speed:
- Prevent excessive heat buildup to avoid burn-through.
- Keep the motion steady to avoid an inconsistent bead profile.
- Lower Heat Input:
- Use lower amperage than vertical-up welding to maintain control.
Recommended Electrode Types, Sizes, and Positions
Best Electrodes for Vertical Welding
- E6010/E6011: Deep penetration for root passes and pipe welding.
- E7018: Best for structural applications requiring high strength.
- E7024: Suitable for flat and horizontal fillet welds but not ideal for vertical.
Electrode Sizes
- 1/8 inch (3.2mm): Common for most applications.
- 3/32 inch (2.4mm): Better for thin materials and precise control.
- 5/32 inch (4.0mm): Used for heavy-duty welding with higher amperage.
Electrode Positioning
- Vertical-Up: Use a slight upward push angle (5-15°).
- Vertical-Down: Employ a slight downward drag angle (10-15°).
Proper Welding Machine Settings (Voltage, Amperage, Polarity)
Voltage and Amperage Settings
- Stick Welding (SMAW):
- E6010: 75-125A (3/32”), 90-140A (1/8”), 110-180A (5/32”)
- E7018: 90-130A (3/32”), 110-165A (1/8”), 150-220A (5/32”)
- MIG Welding (GMAW):
- Voltage: 18-22V (vertical-up), 16-19V (vertical-down)
- Wire Feed Speed: Adjust based on material thickness (100-300 IPM)
- TIG Welding (GTAW):
- Current: 60-120A for most steel applications
- Polarity: DCEN (Direct Current Electrode Negative)
Polarity Selection
- Stick (SMAW): DC+ for deeper penetration, AC for general applications.
- MIG (GMAW): DCEP for solid and flux-core wire.
- TIG (GTAW): DCEN for precision and penetration.
How to Control Weld Pool and Avoid Defects
Controlling the Weld Pool
- Use Proper Heat Input: Adjust amperage to avoid overheating.
- Maintain a Short Arc: A long arc causes excessive spatter and porosity.
- Proper weaving helps control penetration and bead profile.
- Pause at the Edges: Ensures sidewall fusion and prevents undercutting.
Preventing Common Welding Defects
- Undercutting:
- Reduce travel speed.
- Use proper weaving technique.
- Maintain the correct electrode angle.
- Porosity:
- Keep the arc length short.
- Use dry electrodes and store them properly.
- Clean the base metal before welding.
- Spatter:
- Reduce amperage if excessive.
- Use anti-spatter spray if necessary.
- Lack of Fusion:
- Use a slight weaving motion.
- Maintain the correct arc angle.
- Increase heat input if needed.
Safety Precautions and Best Practices
Personal Protective Equipment (PPE)
- Welding Helmet: Auto-darkening for eye protection.
- Gloves: Heavy-duty leather gloves to prevent burns.
- Jacket and Apron: Flame-resistant material for body protection.
- Boots: steel-toed boots with metatarsal protection.
Work Environment Safety
- Ventilation: Use fume extractors or weld in open spaces.
- Fire Safety: Keep a fire extinguisher nearby.
- Grounding: Properly ground the workpiece to prevent electric shock.
- Clear Work Area: Remove flammable materials.
Conclusion: Comprehensive Guide to Vertical Arc Welding: Suggests and Tricks for Beginners and Professionals
Not forgetting the fact that vertical stick welding goes a long way in developing one’s welding skill, be it just nailing the basic ones or having some experience in the profession. It is one technique that is best approached with a different mind, especially when one is to use 7018 vertical-up rods to perform some vertical-up welding.
If you are one of those who subscribe to the above as a stick welding tip, it is often recommended that an angle is tilted with the rod in a vertical position to result in a really good weld with better penetration. For someone using a stick welder, 120 amps on the machine are generally useful for thicker base vertical material where a joint can be welded without quality compromise.
Solid weld bead creation will be complemented by fill freeze welding rods to minimize defects. Moreover, one could learn how to keep away from any possible undercutting, which ultimately is essential for producing neat, strong welds. While honing your skills, dive into all the vast information the world has to offer in the shape of webinars on YouTube to broaden your knowledge of technical welding terminologies and techniques.